How to Take Great Dental Photos for Your Virtual Pre-Evaluation
Clear photos are the foundation of a useful virtual pre-evaluation. When your dentist can see your teeth, gums, and bite from the right angles, they can give you a more accurate treatment outline, timeline, and cost range before you ever book a flight. Blurry, dark, or incomplete photos, on the other hand, make it harder to plan—and may mean more surprises once you arrive.
Why Good Dental Photos Matter for Your Virtual Pre-Evaluation
For dental tourism patients, a virtual pre-evaluation is often the first step in deciding whether treatment abroad makes sense. Great photos allow the dentist to assess visible issues like spacing, crowding, wear, discoloration, gum health, and bite relationships. That means you can get a more realistic estimate of what’s possible during your time in Cartagena—and what might require additional stages, healing time, or updated imaging once you arrive.
What You’ll Need Before You Start
You don’t need professional equipment to take good dental photos—just a little preparation:
- A smartphone with a decent camera.
- A well-lit room (natural daylight near a window works best).
- A friend or family member to help (highly recommended).
- Two clean spoons or fingers with disposable gloves to gently retract cheeks (optional but helpful).
- If you wear partial dentures, clear aligners, or removable appliances, have them nearby for “with” and “without” photos if requested.
Basic Photo Rules: Lighting, Focus, and Framing
To get usable images for a clinic in Cartagena, follow these simple rules.
Lighting
- Stand facing a window or bright light source so light hits your face from the front—not from behind.
- Avoid relying only on strong overhead lighting, which can create shadows inside your mouth.
Focus
- Tap on your teeth on the phone screen before taking each picture so the camera focuses on your mouth, not the background.
- Take 2–3 shots per angle so at least one is sharp.
Framing
- Center your mouth in the image and get close enough that your teeth fill most of the frame.
- Don’t cut off the corners of your mouth—those edges help the dentist see your bite.
If any photo looks dark, blurry, or far away, simply retake it before sending.

The 7 Key Dental Photos Your Dentist Wants to See
Most virtual pre-evaluations use a standard set of angles. Unless your clinic gives different instructions, aim for these seven shots:
1. Face Relaxed – Front View
- Stand or sit upright, looking straight at the camera.
- Keep your lips gently closed.
- This helps the dentist see overall facial symmetry and jaw relationship.
2. Face Smiling – Front View
- Big, natural smile showing as many teeth as possible.
- Facing forward, camera at eye level.
- This helps evaluate your smile line, tooth display, and lip position.
3. Close-Up – Front Teeth Together
- Open your lips but keep your back teeth lightly touching.
- Show upper and lower teeth together from the front.
- This is critical for seeing crowding, wear, color, and how your bite comes together.
4. Right Side Bite
- Turn your head slightly to the right.
- Gently pull your right cheek back with a spoon/finger.
- Bite down normally and photograph the teeth on that side.
5. Left Side Bite
- Turn your head slightly to the left.
- Retract the left cheek and bite down in your usual position.
- This gives a full picture of side-bite relationships.
6. Upper Arch (Top Teeth)
- Tilt your head back and open wide.
- Your helper takes the photo from below, aiming toward the roof of your mouth.
- Capture all upper teeth front-to-back, plus gums and palate.
7. Lower Arch (Bottom Teeth)
- Tilt your head slightly down and open wide.
- Your helper photographs from above, aiming down toward your tongue.
- Capture all lower teeth and gumlines.
If you have specific concerns (broken tooth, dark filling, old crown), add 1–2 extra close-up photos of those areas.
Tips if You’re Taking Photos Alone
Having a helper is ideal, but if you’re solo:
- Use your phone’s front camera and set a timer (3–10 seconds).
- Prop the phone on a shelf or tripod at mouth height.
- Practice the angle and mouth position first, then take several attempts for each shot.
- For side views, you may need to hold the phone in one hand and retract your cheek with the other—do your best to keep your face centered.
Even if they’re not perfect, clinics that work with international patients can still learn a lot from well-attempted DIY photos.
What to Avoid in Your Dental Photos
- Avoid heavy makeup or bright lipstick that distracts from tooth color.
- Don’t use filters or photo-editing apps.
- Avoid dim rooms or strong backlighting that creates silhouettes.
- Don’t send only far-away selfies—close, clear photos are required.
Clear, honest images help your dentist give realistic options and avoid overpromising.
How to Send Your Photos Securely
Follow your clinic’s instructions—each office has preferred methods. Common options include:
- Encrypted online forms or patient portals.
- Secure email upload links.
- WhatsApp or similar apps, if the clinic uses them for international patients.
When you send, include your full name, contact information, and main goals (for example: “replace missing back teeth,” “fix front gaps and discoloration,” or “full-mouth makeover”). If you have recent X-rays or reports from a local dentist, attach those too.

Why This Matters So Much for Dental Tourism Patients
For U.S. and Canadian patients considering treatment in Cartagena, great photos:
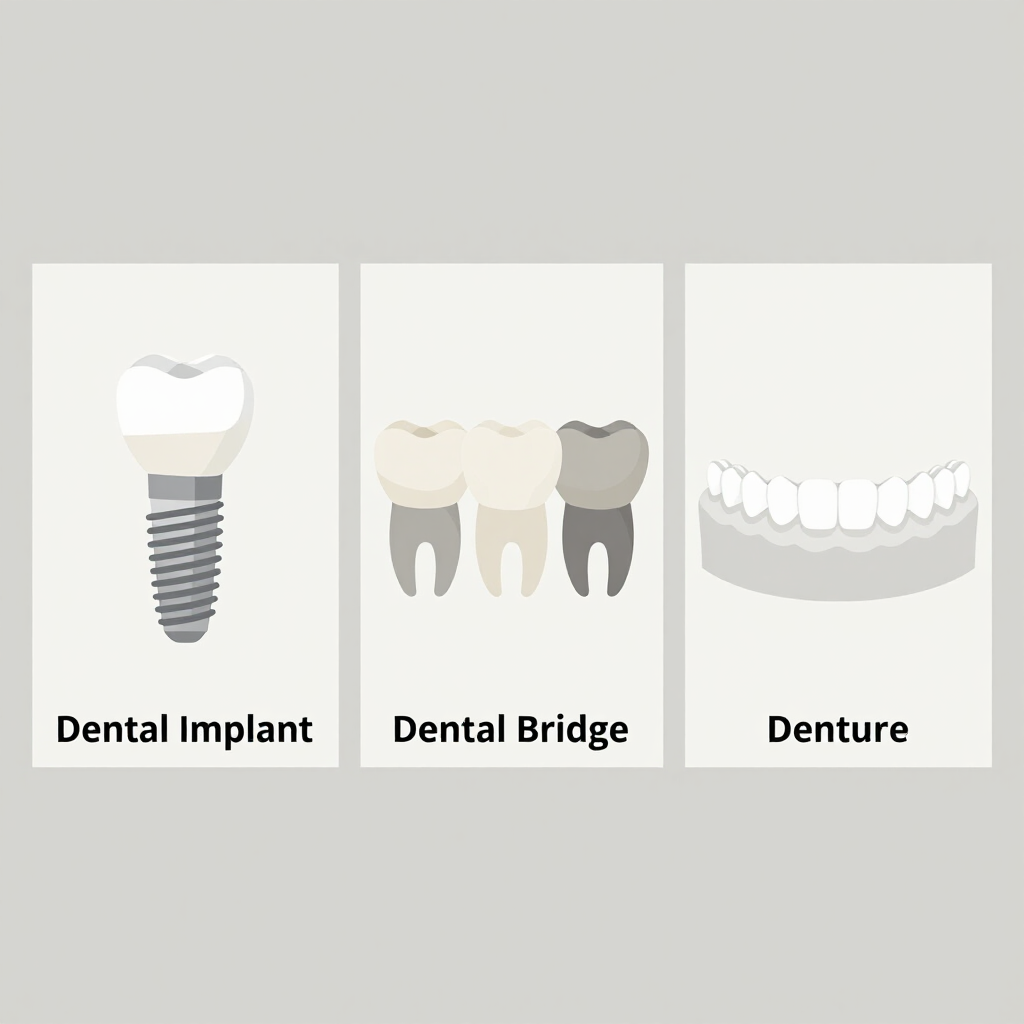
- Help estimate how many implants, veneers, or crowns you may need before you spend money on flights.
- Help determine whether your case is suitable for a single trip or requires a two-stage plan with healing time.
- Reduce surprises when you arrive, because the dentist has already reviewed your bite, spacing, and visible conditions.
In short, good photos make your virtual pre-evaluation more accurate—and your travel decisions more confident.
Ready to see what’s possible for your smile—before you commit to traveling to Cartagena?
Dr. Julio Oliver offers a free virtual pre-evaluation for U.S. and Canadian patients. Take your dental photos using the steps above, gather any recent X-rays, and send them in with a short note about your goals. You’ll receive a personalized treatment outline, approximate timeline, and cost estimate so you can decide—with clarity and confidence—whether a dental trip to Cartagena is right for you.